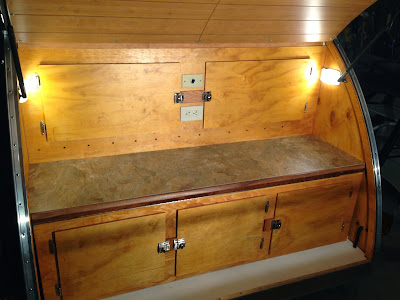
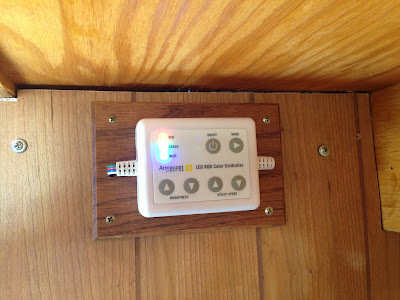
From last time, almost all of the aluminum was skinned with the exception of the kitchen door opening. Also remaining was to install the mattress, tile the counter top, install door latches, and do a finish prep on the aluminum. So here's the home stretch in pictures.
Finishing the trim involved adding narrow strips of cut aluminum sheet down each side of the kitchen door opening, and then trimming down the curved exterior edge to the bottom of the trailer, as seen in the following picture.
Next up and as you can see, is installation of the mattress. After cutting to size using an electric carving knife, the mattress installs through the rear of the trailer with a little elbow grease.
The counter top finish is next. 18" Armstrong vinyl adhesive floor tiles from Home Depot cut to size do the trick.
Next, latch plates for the chain bolt are needed. After a little trial and error on the alignment, these from Home Depot work out.
And well, guess what? That's it....well, not quite. During the aluminum skinning, I mistakenly decide to store the trailer under a moving blanket and a tarp, thinking this would be protect the aluminum from scratches and keep it dry. While it did protect from scratches, water did get in and being unfinished/unsealed/unpolished mill aluminum, caused a rather nasty oxidation stain, seen on the driver front in the pic below:
After doing some research, it seemed I could do a number of things to address this stain and produce a desirable finish surface on the aluminum. This included buffing and polishing to a reflective shine, acid etching, using an abrasive like scotch brite pads, or leaving the finish largely untreated and trying to limit surface treatment to the stain, and then using a sealant. In weighing these options, I found that I did not want a mirror finish, and did not want the high maintenance that came with buffing. Acid etching goes almost too far in the opposite direction in terms of taking any shine out of the metal, leaving it grey. An abrasive would leave a swirly, scratched finish that would be hard to keep consistent, while also dulling the appearance. Since the metal had a reasonably nice shiny but smooth finish that I decided I wanted to preserve, what I arrived at was using Bar Keepers Friend Powdered Polish and Cleaner with a foam sponge and some elbow grease to treat the stain. Important to this was the fact that Bar Keepers is a non-clorine/non-bleach product, which would have etched the aluminum. The very mild abrasive effect of the Bar Keepers lifted the stain without significantly altering the finish:
The final steps in finishing the trailer included cleaning with lacquer thinner, and sealing with what I found to be the best aluminum product on the market, Sharkhide. Specifically, the Metal Protectant in a quart can goes on smoothly with a cotton baby diaper, self-levels, and dries quickly forming a tough corrosion barrier. Treating the whole trailer produced a nice finish:
Whew! One last detail is to add a goofy stuffed animal as a camping mascot, load up with gear, and I think we are finally ready to camp:
And here's proof:
So there it is. The initial build of the Colestear teardrop camper is done. Three summer's worth of a project. My estimates are around $3,500 in materials, along with a lot of sweat equity. I'd guess 400 hours combined build time between my dad and myself, fabricating from scratch. Working from a blueprint or building a second one, I'd say we could cut that labor time in half. And who knows, maybe I'll decide to build another, or go into business as a custom builder (I think it would beat my day job for sure).
In the end, it's been a fun and rewarding project. I'm very thankful to my dad for all of his help, craftsmanship, and expertise he lent to the project. I don't think I could have done this build without him. I look forward to many great camping outings in the years to come.
There are few enhancements I may still add to this trailer, including a sink/grey water collection, a camp stove, and possibly hacking a window air conditioner. Details on all of that later. In the mean time, Happy Camping!!!
Here are a few more pics to commemorate the successful build and the inaugural camping trip:


